From a .env file to a production server
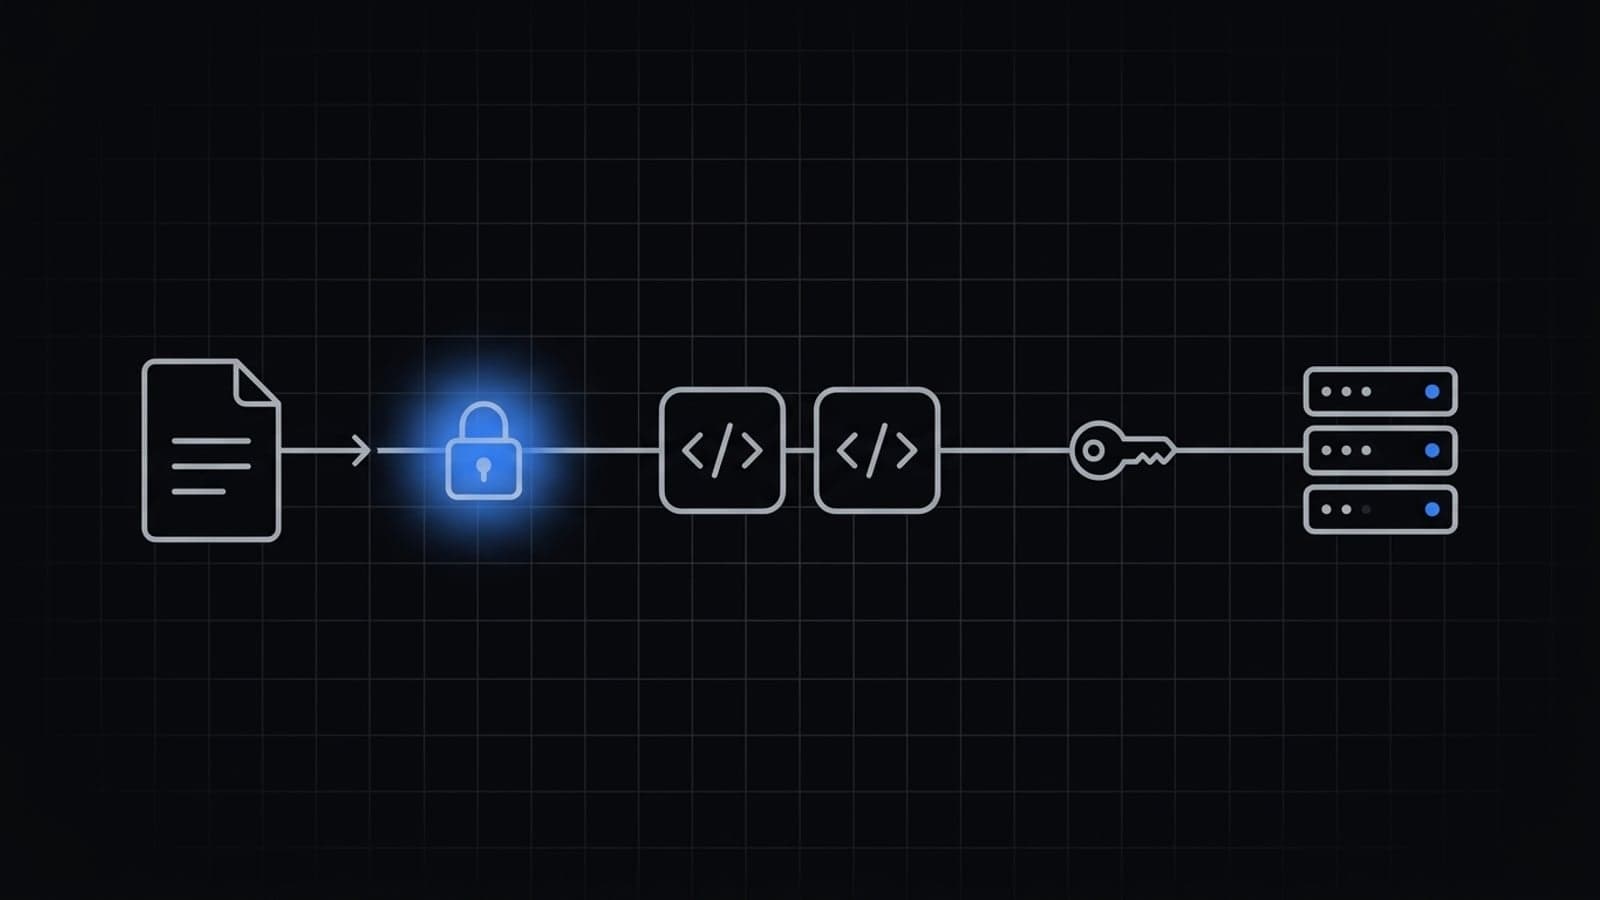
One project the whole way: import a .env, check it with --explain, add Staging, then read Production on a server with a server token.
Sep 29, 2026 · 6 min read
1. Start and import
Work in the folder that holds your app and its .env. Sign in to go all the way to Production. New projects start with Development (open) and Production (Read-only). Guest projects have Development only. Claiming adds Production (Read-only).
cd your-project
npx getmyenv                   # choose Sign in
npx getmyenv import --dry-run  # see what would change
npx getmyenv import
Values are encrypted on your machine before upload. Your .env files stay as they are. Commit .getmyenv/project.json. .getmyenv/token.json stays local and is gitignored.
2. Check what the app gets
npx getmyenv run --explain
npx getmyenv run -- npm run dev
--explain lists each variable and where its value comes from. Names only, never values. A missing value stops the run and names it.
3. Add Staging
npx getmyenv context create "Staging" --from development
npx getmyenv set DATABASE_URL -c staging   # asks for the value
npx getmyenv run staging -- npm start
Staging is an open context. --from copies the values from Development. Change the ones that differ.
4. Set Production values
Only the owner sets Read-only values, in the dashboard. Open the project, pick Production in the sidebar, then Add variable or Import. Values are encrypted in the browser. The CLI never writes Production.
5. Create a server token
In Project settings, Tokens, create a server token for Production. Add the server's IP or CIDR and pick the New machines rule. The token is shown once. Store it in the server's environment as GETMYENV_TOKEN.
6. Run on the server
export GETMYENV_TOKEN=...            # server token from the dashboard
export GETMYENV_MACHINE_LABEL=web-1  # name shown on the Requests page
npx getmyenv run production -- node server.js
The token holds Production's key, so the server never asks for a Vault password. In containers, set GETMYENV_CONFIG_DIR to a persistent volume so the machine keeps its identity across restarts.
7. Approve the machine
With Ask me, the first run from a new machine creates a request, prints the Requests page link, and waits up to 5 minutes. Approve it on Requests. Approval gives a machine a one-time grant for 1 hour. Trust the machine to skip approval next time.
8. When a server or token is lost
- Revoke the server token in Project settings, Tokens. Create a new one for the replacement server.
- Revoke the machine on Requests. A revoked machine cannot read values.
- Rotate the credentials that server could read, at each provider. Then set the new values in Production.
- For the replacement server, repeat steps 5 to 7.
Revoking stops getmyenv from providing values. A credential still works at its provider until you rotate it there.
9. Keep a backup
npx getmyenv backup # encrypted backup of the open contextsAccount login recovery does not recover vault access. Without a backup, a forgotten Vault password loses the vault. Backups with Read-only contexts are made in the dashboard.
Related docs: How run works, Machine access, Security, Export and restore